In this epic tutorial we’re going to take a deep look at how you can use mental ray’s Sub-Surface Scattering (SSS) tools in order to make your renders more realistic. This technique is often misused, misunderstood, and- if implemented wrong- can seriously affect your render times. After reading this tutorial you’ll walk away with a broad understanding of both the concepts behind SSS and how to implement it effectively in 3d Studio Max and mental ray.
I’ll be explaining things from the perspective of a beginner/intermediate user. You should know what mental ray is, how to enable it, and how to create new materials. I’ll provide you with downloadable source files along the way so you can have a starting point.
We’ll begin by getting a strong understanding of what options are available in the 3dsMax implementation of mental ray, followed by detailed guidance on each material and shader type. Finally we’ll put these concepts into practice by manipulating renders step-by-step.
In part 1 of this tutorial we’ll discuss
Then, in Part 2 of this tutorial we’ll discuss
You can download my starter scene here, though I’m not including the texture files because they’re copyrighted so you may get an error message. Any complex materials I create will be provided through a scene file, too.
What is Sub-Surface Scattering
If you’re already familiar with what SSS is you can safely skip this section.
Wikipedia really does the best job of explaining what subsurface scattering is:
Subsurface scattering (or SSS) is a mechanism of light transport in which light penetrates the surface of a translucent object, is scattered by interacting with the material, and exits the surface at a different point. The light will generally penetrate the surface and be reflected a number of times at irregular angles inside the material, before passing back out of the material at an angle other than the angle it would have if it had been reflected directly off the surface. Subsurface scattering is important in 3D computer graphics, being necessary for the realistic rendering of materials such as marble, skin, and milk.
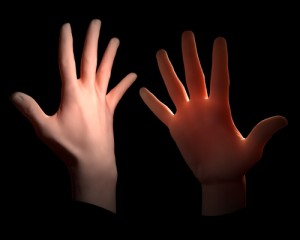
You’ve probably seen this effect before- like when you hold a flashlight over your fingers or the sun shines through your eyelids. The light travels through your skin and gets scattered, taking on a reddish color.
When enabled in a render it can have a subtle but dramatic impact on how your renders look. Direct light sources will shine light on your object and, when configured correctly, mental ray will be able to scatter and color that light the same way that light would behave in real life. Consider the images below.
What Sub-Surface Scattering Options Are Available
mental ray in 3d Studio Max 2009 has four material-based sub-surface scattering modes and one “faked” mode. These are:
- SSS Fast Material
- SSS Physical Material
- SSS Fast Skin Material
- SSS Fast Skin Material + Displace
- Parti-Volume Material
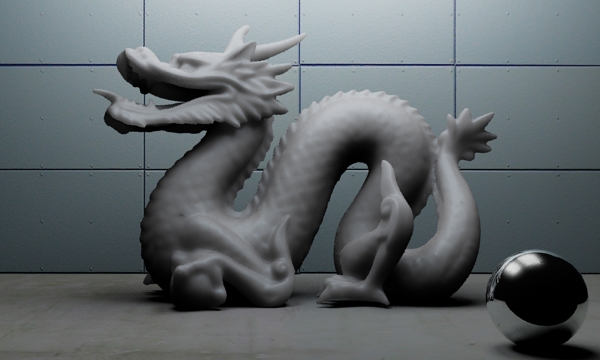
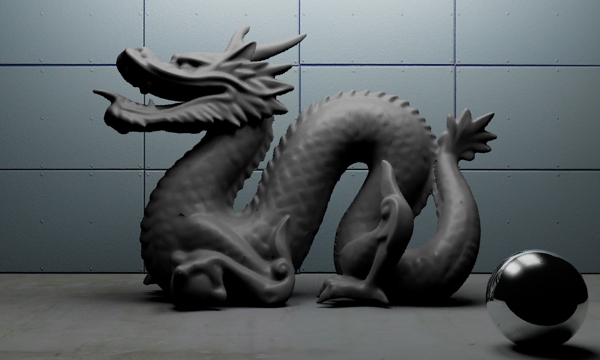
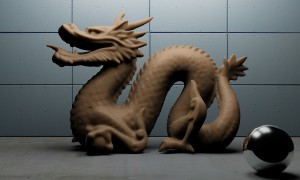
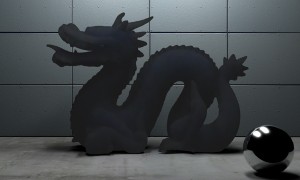
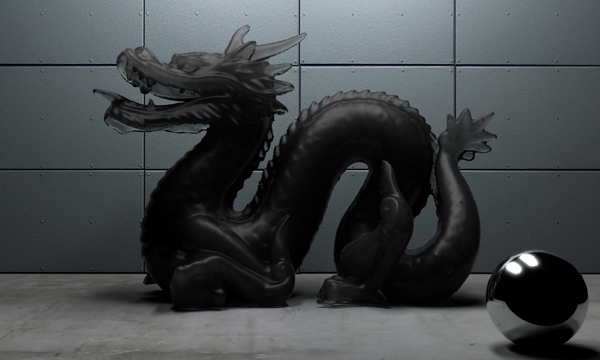
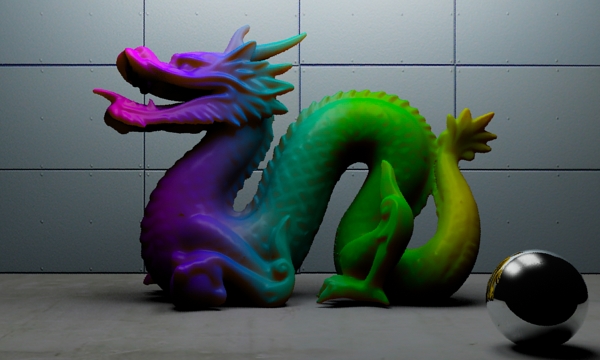
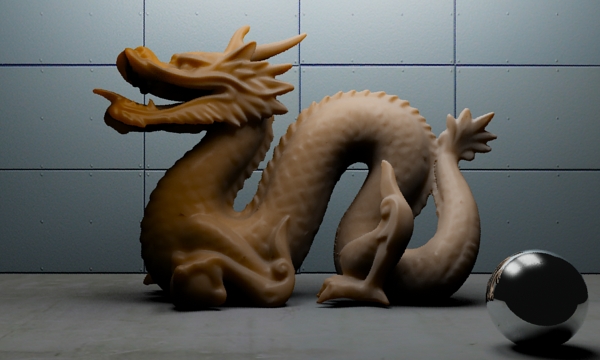
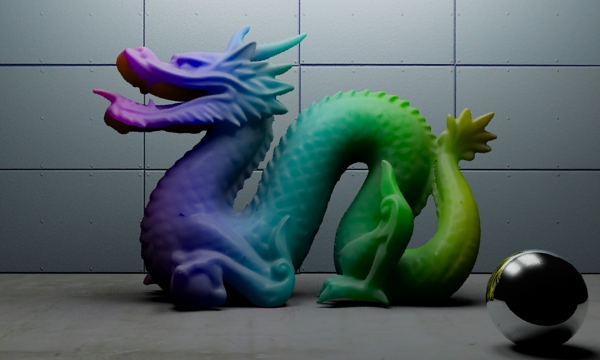
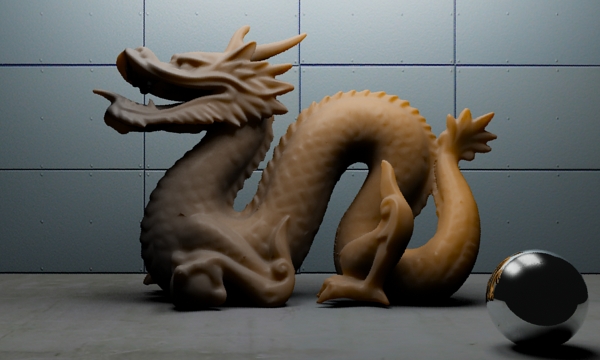
For the purposes of this tutorial, we’ll be considering the SSS Fast Skin Material and the SSS Fast Skin Material + Displace as virtually identical. They’re only differentiated by the ability to add a displacement map. Examples of each are shown below at default settings appropriate for the scene size. We’ll go over material settings later in this tutorial.
Sub-Surface Scattering Examples
A Deep Dive into the SSS Fast Material
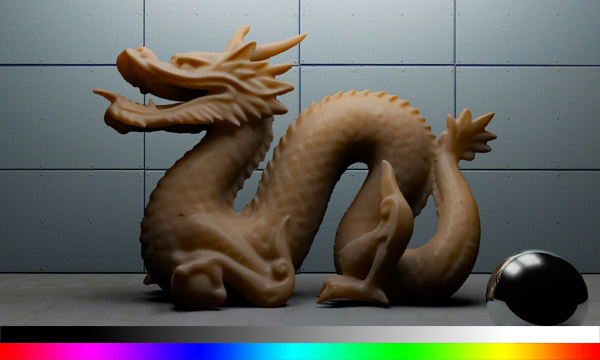
Let’s begin with the simplest SSS material- the SSS Fast Material. I’ll use a gradient ramp, a rainbow map, and a single render to demonstrate the effect of various parameters. Note that I won’t render all of them because many of these parameters have to be pretty extreme in order to change the render. Besides, 99.9% of the time you won’t have to alter parameters like Lightmap size or Falloff strength.
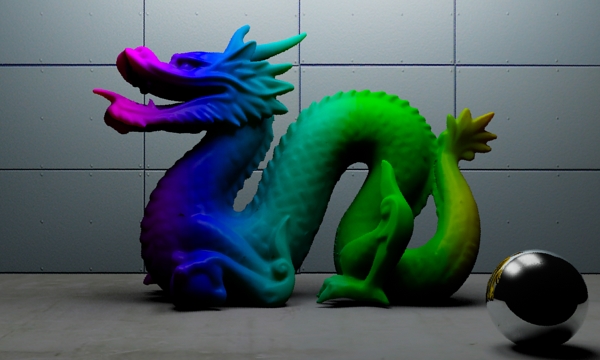
Parameters that take color maps- like unscattered color- will be tested using the “rainbow map” you see along the bottom of the image below. Parameters that take numerical maps- like front-surface scatter weight- will be tested using the “black-to-white” gradient ramp above the rainbow map. Wherever I state values below an image, it’s referring to the gradient ramp and is read from left to right. I.E. “Values are 0.0 to 1.0” means that the left side of the image is 0.0 and the right side of the image is 1.0.
SSS Fast Material Parameter Definitions
Below are definitions for each parameter in the SSS Fast Material rollout.
SSS Fast Material (mi) Parameters
The SSS Fast Material (mi) Parameters give you high-level control over the quality of the SSS effect.
Scatter Group
All objects that should scatter light into each other should be in the same scatter group. To conserve memory, use as few scatter groups as possible. A person’s hands, face, etc. can use the same scatter group; even hands and faces of different people. In general, different scatter groups should be used only when using the same group would cause visible problems due to objects incorrectly scattering into each other. Two characters shaking hands, for instance, would need to have their hands in different scatter groups.
Lightmap Size
Lightmap size is the size of the lightmap as a percent of the total render size. The lightmap is based on screen space and 50% or less is usually enough (and it’s the default), but if edge artifacts start to appear, you can increase this value. You’ll rarely need to alter this value and it’s tough to get a change in your render while altering this parameter.
Number of Samples
Number of samples sets how many samples from the lightmap are used (maximum) per rendered ray. Ideally this should be a power of two. 32 is probably the lowest useful value and 128 is plenty of resolution. However, if the scattering radii are really large then you may need to increase the samples in order to avoid any noisy artifacts.
Bump Shader
This should already be familiar to you. You can apply a bump map to your material in order to add detail to your material. One important thing to note is that bump mapping does not affect how your sub-surface scattering is calculated. It only affects the color and specularity of the material. You should already know what bump mapping would do to this model so I think we’re good without a render.
Diffuse Sub-Surface Scattering
This parameter group is responsible for controlling the color and spread of light through the material.
Ambient / Extra Light
The ambient light controls is the ambient component as though it were an ordinary Standard material. This light will also be included in the lightmap and get scattered like any other light source which makes it the perfect place to add any HDRI light. Here’re some good HDRI maps you could use.
Overall Diffuse Coloration
All diffuse colors below are multiplied with this global color to yield the final result. This parameter is useful for coloring the final color of the material or to apply maps that change all light that hits the material. Moles on a character’s skin, for example, will block almost all underlying light (even scattered) and would make sense applied here.
Unscattered Diffuse Color
This is pretty straightforward. Adding color to this map will only affect unscattered light and will color the model but less-so than overall diffuse coloration. Compare the image above with the one below.
Unscattered Diffuse Weight
The weight control handles how significant the unscattered diffuse color should be in the final material. In the image below, the low weights on the left reveal a material almost exclusively made up of sub-surface scattering. On the right the material has a high weight and is mostly the “white” color we used in the diffuse color swatch.
Front-Surface Scatter Color
Front-Surface Scatter Weight
These control the color and weight for the front surface scattering. Front-surface scattering affects surfaces that are facing the light source and are directly illuminated. Other than that, the controls are very similar to the ones we used on the unscattered component above. Notice that when the weight parameter is very low (left side of the lower image), the material becomes almost an ordinary Standard material except for the back-scattering component.
Front-Surface Scatter Radius
The scatter radius controls how deeply the light should be scattered along the surface for light-facing areas of your material. This value is in scene units so if you’re working in feet like the downloadable example then .5′ means 6 inches of spread. Remember that this will get multiplied by the scale conversion factor discussed in the advanced parameters section.
Back-Surface Scatter Color
Back-Surface Scatter Weight
These are the color and weight for the back-surface scattering. Back-surface scattering affects surfaces that aren’t facing the light source but are being indirectly illuminated through the surface of the object.
Back-Surface Scatter Radius
Back-Surface Scatter Depth
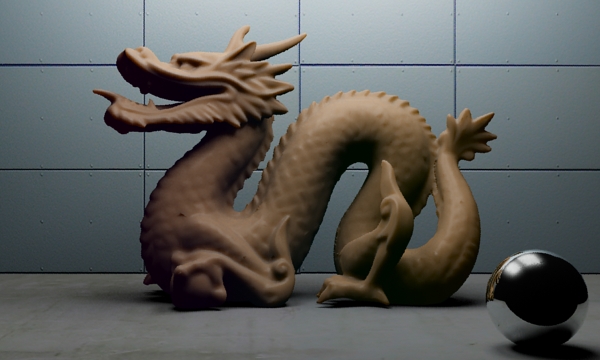
These are the scatter radius and depth for light that reaches the back surface from an illuminated front surface. Normally, the radius and depth are set to the same value (and if the depth is not specified, it defaults to the radius). I’ll include an extra render below. Note that it’s difficult to get this parameter to invoke a change in the render- the default is 0.03′ and these renders go to 1 foot. If you’re setting radius/depth to really high values you should consider changing the scale conversion factor instead!
Specular Reflection
Specular Color
Shininess
The color and shininess control a regular Phong shader for the material specularity. This should be pretty familiar to you from working with Standard materials. The higher the shininess parameter, the higher the glossiness of your final material. The specular color generally doesn’t need to be edited but there are some cases when it can be useful.
Advanced Options
Lightmap Gamma Curve
The lightmap gamma curve is the gamma of the lightmap. If this is 1.0, normal diffuse light is stored. If it is less than 1.0, the curve is ‘flattened’ causing the light to spread out towards areas not directly facing the incoming light. If it is higher than 1.0, the curve is ‘narrowed’ causing the light to concentrate in areas directly facing the light source. In most cases, a value between 0.4 and 0.8 is fine.
Scatter Indirect Illumination
If this checkbox is checked then the material includes any indirect lighting (photons, final gathering, etc) in the lightmap to be scattered. This takes additional render time and one should judge on a case-by-case basis if the indirect light is significant enough that seeing it scattered or not makes a big difference to justify the extra rendering time. You also must turn this on in order to have your SSS material react to HDRI lighting via Final Gather or to caustics being cast by other objects.
Scale Conversion Factor
The scale conversion factor is the first place you should go when creating a new material. It’s a simple multiplier for all distances in the material. Scattering is distance dependent so loading a material designed for a model made in inches will not work on a model where the unit is meters, and vice versa.
Scatter Bias (+/- 1.0)
If this is set to 0.0 the scattering is completely uniform. Positive values favor forward scattering, and negative values favor back scattering. Backscattering is where light begins traveling through a surface but then turns around and bounces back the way it came.The allowed range is -1.0 to 1.0, but the useful range is much smaller. A value of 0.1 (a slight bias toward forward scattering) is a good start.
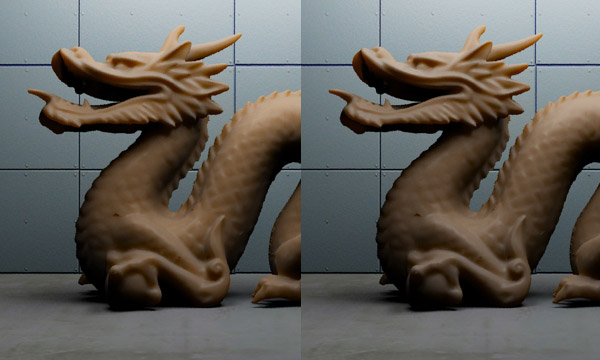
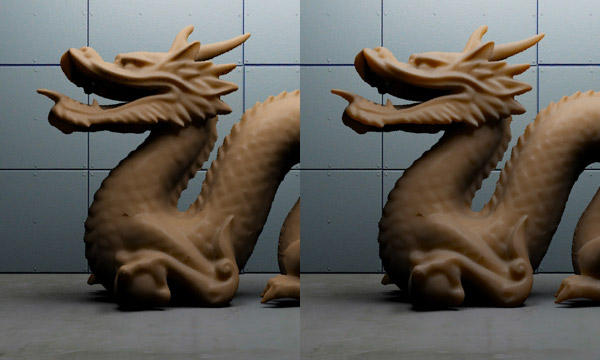
Scatter bias on the left image is unchanged, and on the right is -0.50. This biases light backwards.
Falloff Strength
This parameter sets the shape of the distance falloff along the scatter radius. Higher values will give you a more sudden falloff and lower values give a less sudden falloff. Lower values will also make the scatter distance look shorter, so you might want to compensate by increasing the actual scatter distance for a ‘softer’ look. For high values (1.0 to 10.0), almost all of the samples in the scatter radius are equally weighted. For low values (0.1 to 1.0), the samples near the edge of the scatter radius are weighted less.
‘Screen’ (soft) Compositing of Layers
When this is turned on the system will choose a softer compositing of the sub-surface scattering layers. This must be turned off for photometric lights & photographic exposure control to look correct!
Looking into the SSS Fast Skin Material
That was intense. Now that we have a good hold on the basics of sub-surface scattering, let’s take a deeper look at the other material types and what makes them unique and useful. The SSS Fast Skin Material is very similar to the SSS Fast Material that we just learned about. This is because the SSS Fast Skin Material is like two materials layered on top of each other.
The displacement map in the SSS Fast Skin Material + Displace is a simple 3d Displacement shader. There isn’t much information about what this shader does so I’ve written a quick post about the 3d displacement shader here.
For the sake of keeping this tutorial as short as possible we’re going to look at the SSS Fast Skin Material + Displace because it’s a more functional version of the original Fast Skin Material.
SSS Fast Skin Material Diffuse Layers
The first major difference between the SSS Fast Skin Material and the SSS Fast Material is the extra front-surface scatter layer. If you remember from earlier, the front-surface scattering has to do with light-facing surfaces and how light spreads across that surface rather than through it. The reason for this extra layer is because skin and flesh diffuse light in a unique way compared to more homogeneous materials like stone or milk.
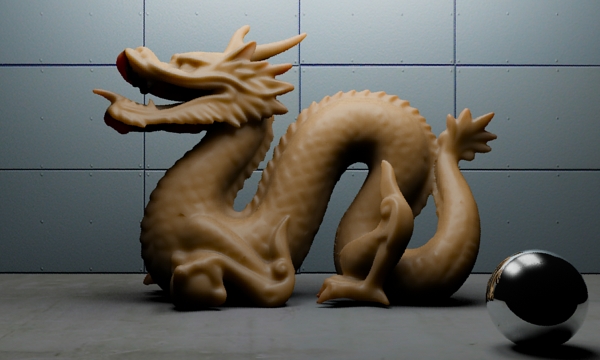
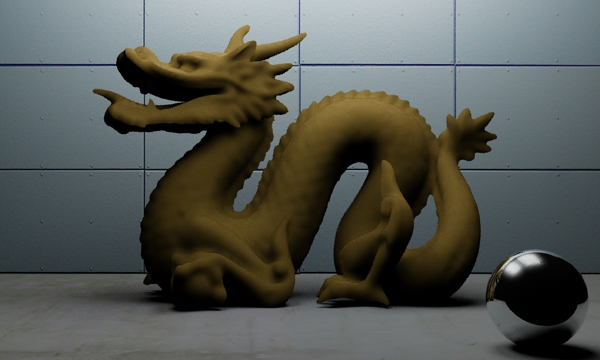
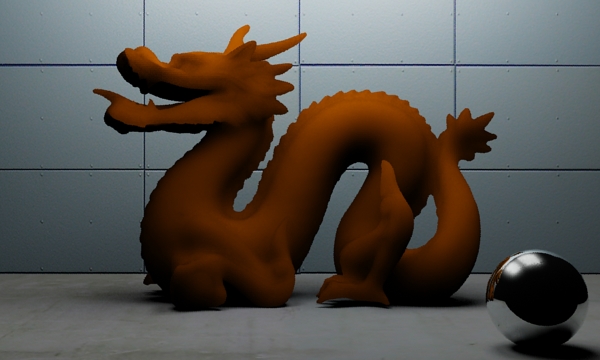
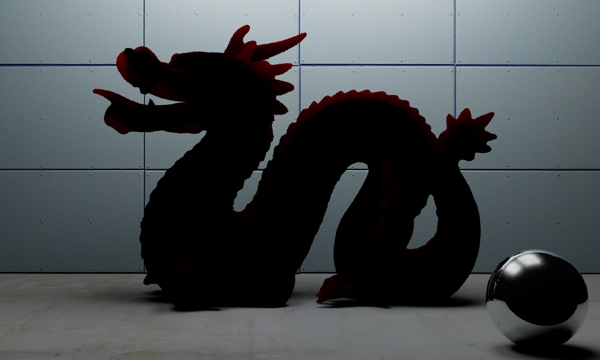
Let’s have a look at what each of these layers looks like independently (without changing the defaults).
Epidermal (Top) Layer Scatter
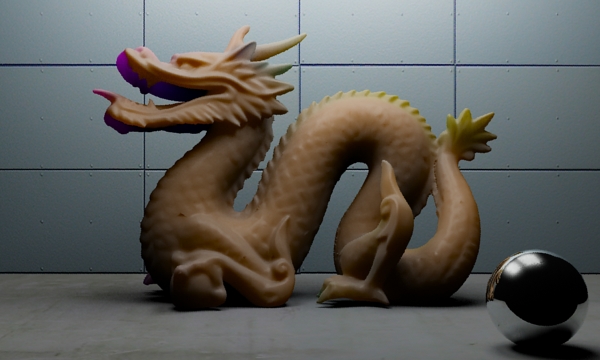
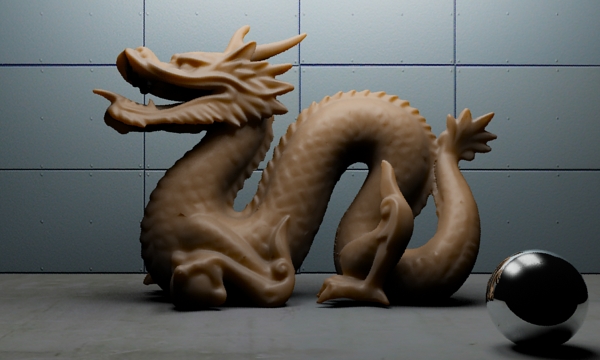
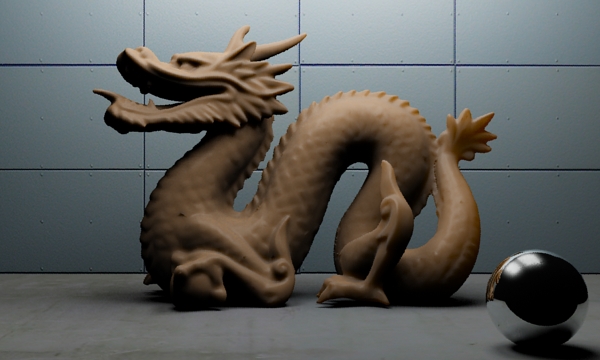
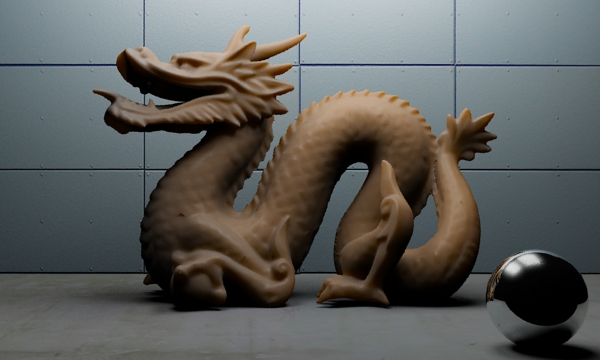
Good values for the epidermal layer are a slightly yellowish color, a weight of 0.5, and a radius of around 0.2 to 0.4 inches. Notice what a huge impact the epidermal layer has on the overall coloration of this material! It’s pervasive but the default scatter depth is so low that much of the detail in the dragon’s scales is still there.
Subdermal Layer Scatter
The subdermal layer operates in pretty much the same way as the epidermal layer (and the original SSS Fast Material). This tends to be a deeper, reddish scattering effect. A reddish/orangeish color with a weight of around 0.5 and a radius of 0.4 to 1.0 inches would be a good place to start experimenting. Remember that if you’re setting the scatter radius unusually high or low, you may need to adjust your scale conversion factor!
Notice in this render how much detail we’ve lost due to this component’s high scatter radius. This is probably one of the biggest color components in the material.
Back-Surface (Through) Scatter
As with the SSS Fast Material, this scattering represents light going entirely through the material. You can set this scattering as deep as you need, but generally light doesn’t go through flesh very far. In the image below you can see that the back-surface scattering isn’t a very heavy part of this example. We could increase the weight manually in order to get more scattering in the dragon’s tail and claws.
SSS Fast Skin Material Specularity
Primary Specularity
The skin specularity functions are two-layered, allowing simulation of both the broad soft specularity of skin and any near-reflective specularities of top layer oiliness and wetness. Notice that this layer is inherently blue-ish and is less glossy than the secondary specular layer.
Secondary Specularity
For skin, a good start is to have the primary specular layer with a very low shinyness (3.0 to 8.0) and a low level (0.1 to 0.3) and a slightly blueish color. Then the secondary layer should have a high shinyness (20 to 100) and a medium level (0.3 to 0.6). Introducing mapping into the specularity channels can significantly enhance realism, too!
Whenever possible you’ll want to use the SSS Fast Material, yielding to SSS Fast Skin Material whenever you’re working on actual skin. These materials are highly optimized for working with day-to-day needs like candle wax, soap, or stone. In part 2 of this sub-surface scattering tutorial we’ll take a look at the SSS Physical material and shader, followed by how you can use Parti-volume to create more specialized effects. You’ll want to advance to those materials for highly refined renders like close-up products or more scientific renders or visualizations.






By forex robot July 5, 2010 - 11:27 pm
nice post. thanks.
By Roberto July 6, 2010 - 3:33 pm
Back again! Thanks
By Kai July 18, 2010 - 11:42 am
keep rocking master
By PAUL YANG November 1, 2010 - 10:10 am
Nice tutorial and
thank you very very much !!
By FireKDragon November 4, 2010 - 4:01 pm
Thanks for sharing!really learnt a lot….
Can I translate this awesome MR SSS guide into Chinese?I want to share your great explanations to the SSS materials with others on a Chinese CG forum,I will tell them where the explanations from,and who is the original author of this tut:D
By Alex February 18, 2011 - 10:17 am
Thanks guy you really help me !!!!
By Removing Skin Tags Yourself September 16, 2011 - 9:08 am
Skin Tag Removal Products…
[…]3dsMax mental ray Sub-Surface Scattering Guide Part 1 | MrBluesummers.com[…]…
By electroheart01 September 24, 2011 - 8:26 pm
You are A GODSEND PERSON! A kind, generous mentor! Thank you so much sir!
By Dan October 3, 2011 - 4:15 am
great tut mate, I’m learning lots =)
By Mohamed September 26, 2012 - 7:22 am
Thank you very much you are the only one who I could understand from.
Thank you very very much
By vannguyen November 2, 2012 - 11:18 am
Many thanks MrBluesummers. It’s truly things that i need. Thanks a gain!
By alexander December 7, 2012 - 12:46 am
so im trying to apply a SSS to a poser model it has a multisubobject material. how do i do that, being struggling with that for 2 days 🙁
or to keep it simple after tweaking the SSS as you teach, how do i apply a texture to it. all my attempts give me a super darker result.
exelent work . on your tutorials. happy holy days
By Grégory May 1, 2013 - 10:42 pm
Hi, thank you so much for your tutorial, it helped me a lot to understand this shader…
But I’d like to know how you did to isolate the layers in the fast skin material section to show us what each feature does. I think it can help me to make a good SSS, if I can manage each feature separately.
Thanks again