Welcome to the second part of my sub-surface scattering guide for 3dsMax and mental ray. In this epic tutorial we’re looking at how you can use mental ray’s Sub-Surface Scattering (SSS) tools in order to make your renders more realistic. This technique is often misused, misunderstood, and- if implemented wrong- can seriously affect your render times. After reading this tutorial you’ll walk away with a broad understanding of both the concepts behind SSS and how to implement it effectively in 3d Studio Max and mental ray.
Just like before, I’ll be explaining things from the perspective of a beginner/intermediate user. You should know what mental ray is, how to enable it, and how to create new materials. I’ll provide you with downloadable source files along the way so you can have a starting point for any complex effects. I strongly recommend that you at least glance over the first part of this SSS guide in order to make sure you have a strong understanding of the basic concepts before tackling this second section.
Remember that this guide is geared toward discussing what options are available in the 3dsMax implementation of mental ray, followed by detailed guidance on each material and shader type. Toward the end of this section we’ll put these concepts into practice by manipulating renders step-by-step.
In part 1 of this tutorial we discussed
Then, in Part 2 of this tutorial we’ll discuss
You can download my starter scene here, though I’m not including the texture files because they’re copyrighted so you may get an error message. Any complex materials I create will be provided through a scene file, too.
The SSS Physical Material & Shader
This material type is significantly different from the Fast SSS Material and Fast SSS Skin Material in that it’s a true scattering solution based on photons. That makes it significantly slower and more difficult to work with and should only be used where absolutely necessary. Consider the following from the mental ray manual:
The fast shader is recommended for:
- leaves, grass, plastic, wax, butter,
- human skin, such as backlit ears,
- when rendering speed is important,
- when memory is important,
- materials into which light does not penetrate deeply.
The physical shader is recommended for:
- jade, emerald, and other highly translucent minerals,
- milk, blood, ketchup, ivory soap,
- thick slabs of translucent materials,
- anything where light scatters deeply,
- when rendering accuracy is important,
- experienced users to set up scenes for global illumination.
You’ll want to use the physical shader for highly refined renders like close-up products or more scientific renders and visualizations. Otherwise the fast shader family has everything that you need.
Also I wanted to include a disclaimer for the images in this section. The SSS Physical Material requires a lot of calibration in order to look good. However this runs contrary to what I’m trying to do in this tutorial; to provide you with images that demonstrate only one change in a material with otherwise default settings. That’s why some of these renders might be kind of ugly.
Now that the warnings are out of the way, let’s dig into the SSS Physical Material and get comfortable with the controls. In order for the SSS Physical Material to work properly, you must enable caustics generation. Don’t forget to enable “All objects generate & receive caustics” if you don’t want to set up a more complex solution.
SSS Physical Material Parameter Definitions
We’ll begin by going over the SSS Physical material parameters and how they impact the material during renders. One thing to notice is that the SSS Physical material and the SSS Physical shader have the same parameter set. This is because they’re basically the same thing. The SSS Physical material is actually just a mental ray material that has the SSS Physical shader assigned to the “surface” and “photon” slots. Since this is the case, we’ll only look at the material and I’ll leave exploring the shader component to you as homework. See the image below.
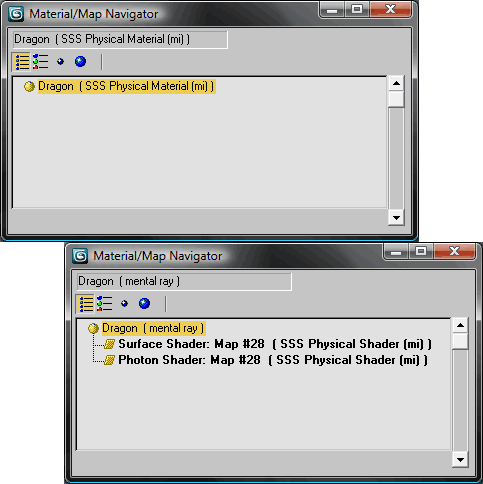
The SSS Physical Material is identical to a mental ray material with instanced SSS Physical shaders in the Surface and Photon slots.
As with before, parameters that take color maps- like unscattered color- will be tested using the “rainbow map” you see along the bottom of the image below. Parameters that take numerical maps- like front-surface scatter weight- will be tested using the “black-to-white” gradient ramp above the rainbow map. Wherever I state values below an image, it’s referring to the gradient ramp and is read from left to right. I.E. “Values are 0.0 to 1.0” means that the left side of the dragon is 0.0 and the right side of the dragon is 1.0, with escalating values in between.
Material
The material parameter controls what the surface properties of the SSS Physical material should be. For example, if you put a DGS Material (3dsMax) shader in this slot, you’ll get a diffuse-glossy-specular control that you can use to make a ceramic-looking effect. The image below uses our rainbow map.
Transmission
Transmission controls the color that light takes as it passes through the material. For example a character’s skin might have a reddish color for the transmission swatch, while a green wax candle would have a green color. Remember that a white or grey color in the transmission slot will take on photons of all colors, rather than photons of one specific color. This is why you’ll tend to see multi-colored splotches in the default SSS Physical material.
Index of Refraction
You should already be familiar with what index of refraction controls. This will change how light is “bent” or refracted as it passes through the material. A value of 1 is the equivalent to air and 1.33 is equivalent to water.
Absorption Coefficient
The absorption coefficient is a 3 part parameter that controls the absorption of light as it passes through the material. Each component represents an RGB color value, not an XYZ direction value.
Scatter Coefficient
Similar to the absorption coefficient, the scatter coefficient is also a 3 part parameter except this one controls the scattering of light as it passes through the material. Again, each component represents an RGB color value, not an XYZ direction value.
Scale Conversion Factor
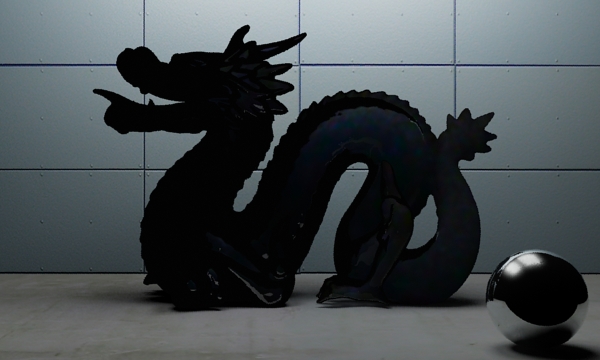
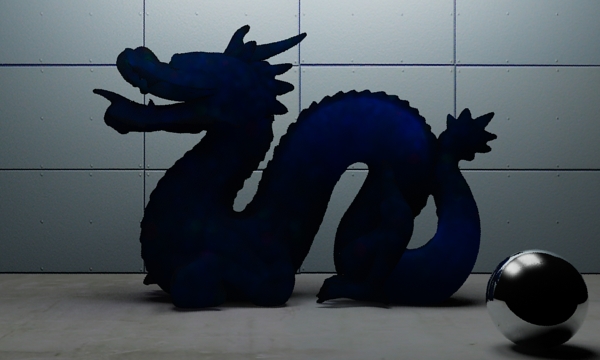
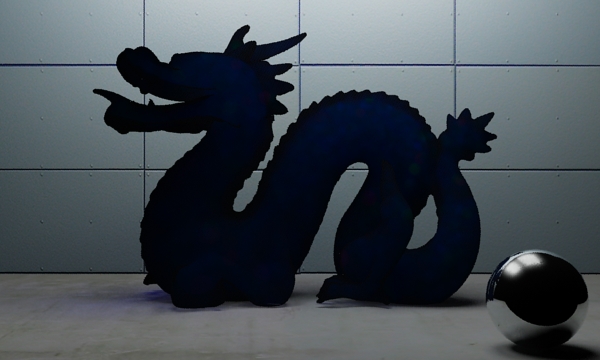
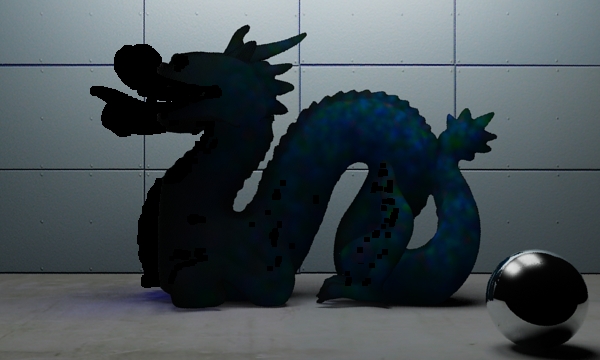
The scale conversion factor operates the same way as it does for the SSS Fast Material. Check out it’s effects below. Notice that values too close to 0.0 cause errors- black areas where mental ray refuses to render the material.
Scattering Anisotropy
The scattering anisotropy parameter controls how light travels once it enters the object. The range of this parameter is between -1 and 1. A value of zero means it travels the same in all directions. A value above zero favors “forward scattering” where light prefers to continue going the way it’s is already going, while a value below zero favors “back scattering” where light prefers to bounce back the way it came.
Depth
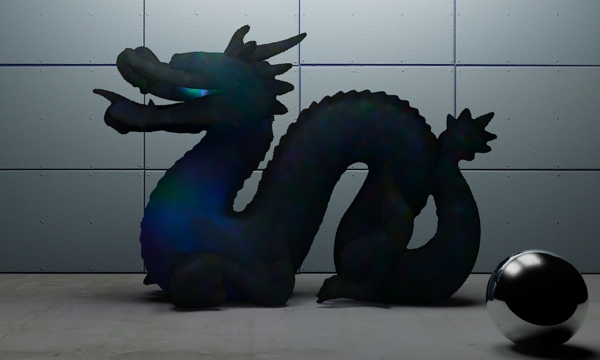
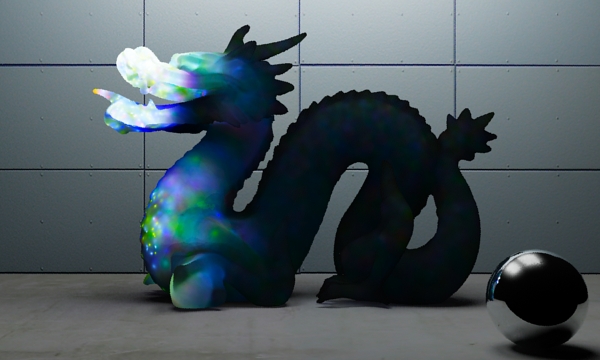
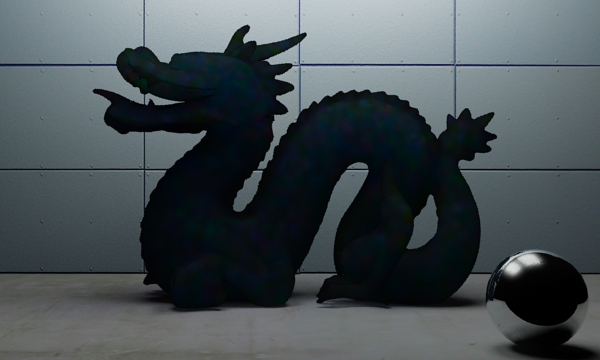
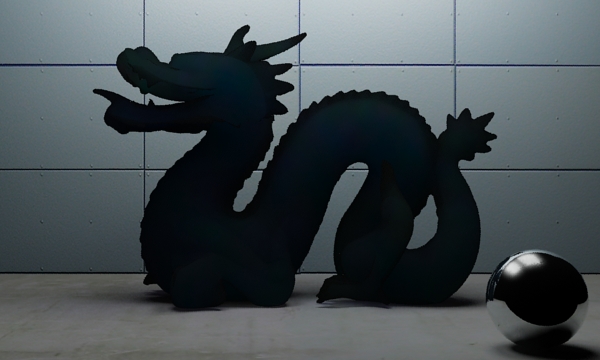
The depth parameter controls how deeply light should penetrate the object. As you can see in the image below, low values will force light to stay very shallow in the object making it glow and sparkle. Values that are too high will cause light to get pretty buried in the object and dull the effect. Finding a happy medium is key!
Max Samples
The max samples parameter controls how many samples to take during the rendering process. You can increase this value in order to get smoother results but you’ll rarely have to go above 512. I like to set this at 256 until I’m ready for a final render.
Max Photons
The max photons parameter controls how many photons should be sampled within the max radius during rendering. I.E. if you have max photons set to 1,000 and max radius set to 5cm, then during render each sample will look around up to 5cm for photons and collect up to 1,000 photons. Values up to about 1,000 should be fine. I like to set this to 512 until I’m ready for a final render.
Max Radius
The maximum radius controls how far each lookup should go in searching for photons during render. A low value means very little smoothing will happen to the solution so you’ll need high photons and samples. A higher value will smooth out the effect allowing for faster renders, but if set too high it could look unrealistic or dull.
Lights
This is pretty straightforward. It’s a list of include/exclude lights to help you refine the effect. You can add lights to this list and control how they’re considered using the “mode” parameter.
Mode
Mode is an enumeration with only 3 settings so I’m not sure why it’s a spinner. See the table below for what each mode means.
- 0: The material considers all lights. This is the default.
- 1: The material uses the lights you specified inclusively. I.E. mental ray will only use the lights you provided and nothing else.
- 2: The material uses the lights you specified exclusively. I.E. mental ray will use all lights except the ones you provided.
Using the Parti-Volume Shader for SSS
Now that we’ve gotten familiar with the SSS Physical material, we can look at one of the most over-looked SSS techniques- the Parti-Volume shader. What’s tricky about the Parti-Volume shader is that it follows a different paradigm to the SSS Fast Material and SSS Physical Material. Instead of considering light traveling through a medium it calculates light as though it were traveling through some murky volume like dusty air or muddy water. This technique was originally presented by Jeff Patton in the CGTalk forums and it’s a pleasure to formalize his method in this tutorial.
The Parti-Volume Shader tends to be used for things like smoke or dust in the air, or cloudy water like in the ocean. In our case, we’re going to use it for cloudy glass materials like muddy water, jade, or smoked glass.
The caveat to this technique is that it is painfully slow to render and is more of a theoretical exercise than anything else. You will be forcing your computer to render a really difficult material. This is the price that you pay for the impressive realism of the technique.
Parti-Volume Shader Parameter Definitions
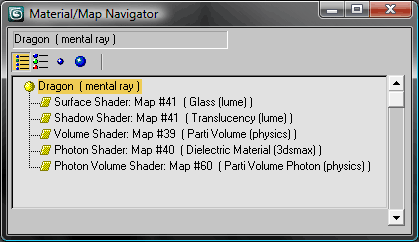
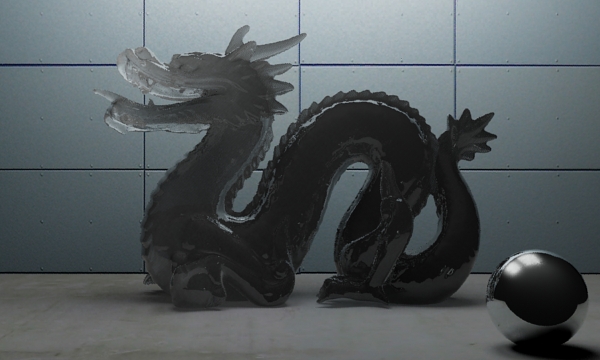
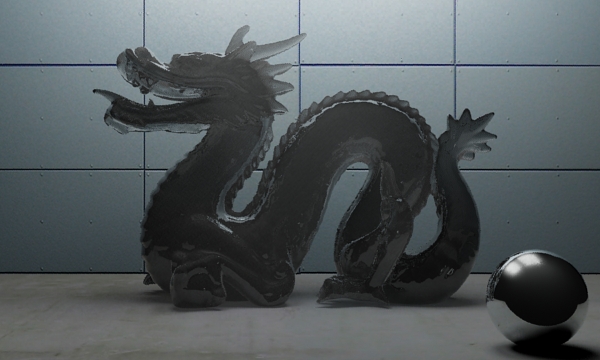
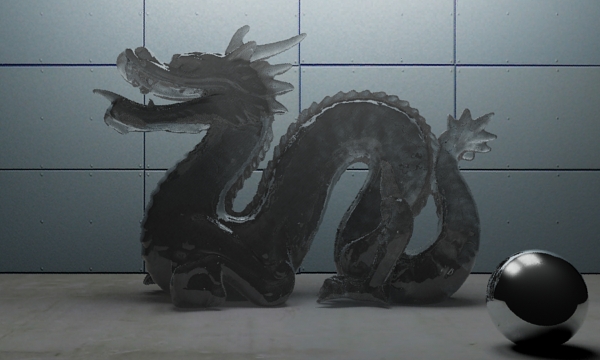
The diagram below shows you a basic mental ray material that’s been set up with “glassy” shaders in order to create a basic Parti-Volume material. All of the changes made in this section of the tutorial are with the Volume Shader (Parti Volume (physics)).
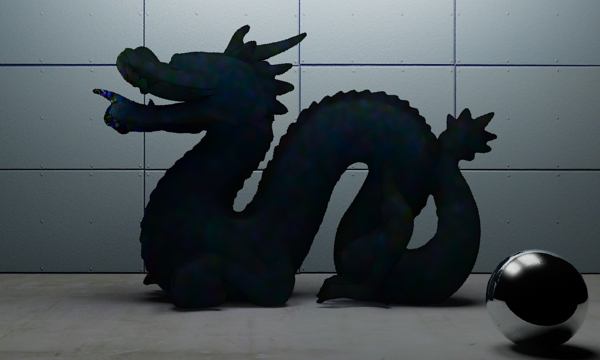
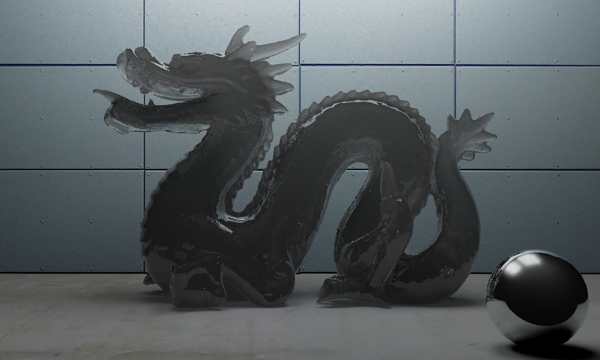
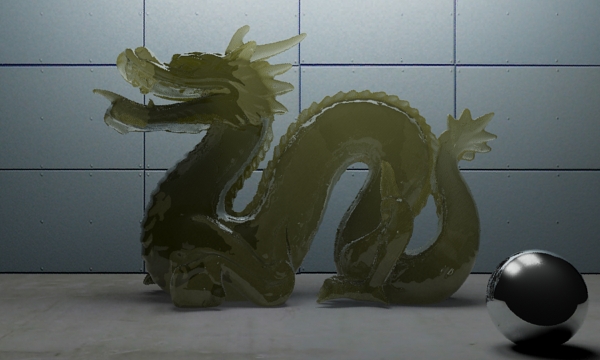
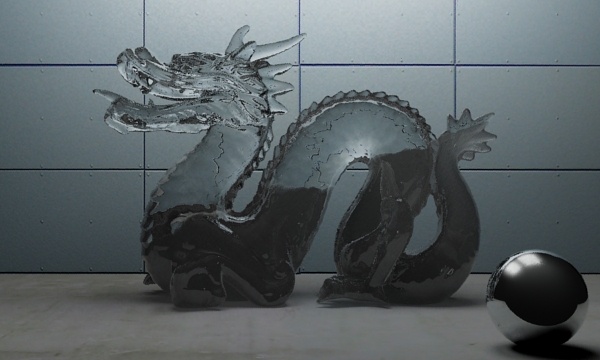
By setting the Extinction parameter in the Parti-Volume and Parti-Volume Photon shader to 0.35, (and all other parameters set to defaults) we get the image below.
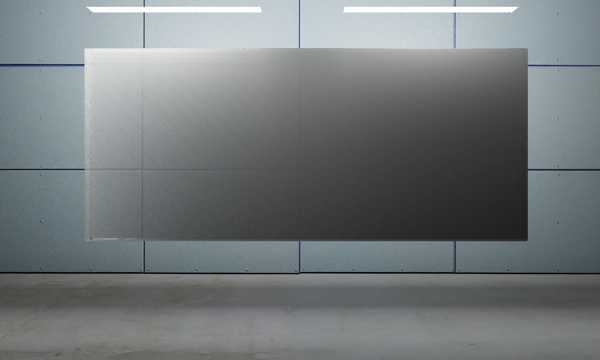
You’re probably wondering what’s going on here. That’s not sub-surface scattering in the way we’ve been discussing it so far. With caustics disabled, this isn’t a photon-based solution and it’s not Fast SSS either. Instead it is a shader that allows light to pass through it in the form of ray-tracing and falloff, making it a different kind of sub-surface illumination. You’ll notice that it has that same “jelly-like” look that a strong SSS Physical material might provide. Thus, in a way, this tool should be kept in the same toolbox as your sub-surface scattering abilities. Take a look at the image below where you can really see the light scattering and diffusion in effect. With the lights brought lower to a simpler model, you can really see the diffusion. If we wanted to get really fancy, we could even apply blurry transparency to this material through the surface shader.
Mode
This mode parameter determines whether or not the height parameter is used. If Mode is set to 0 then the material is the same throughout the entire volume. If the mode is set to 1, then there is only cloudiness at the specified height or lower.
- 0: Do not use the height parameter.
- 1: Use the height parameter.
Scatter Color
The scatter color proved difficult to pin down since using the rainbow map in this slot caused the entire material to result in errors. It turns out that procedural maps do alright, so I used a marble map below.
The documentation says that this map determines the color of the direct and indirect light that gets scattered. Apparently this is a multiplier of the photon energy for the photons in the photon volume map.
Extinction
This controls how much light is absorbed or scattered in the material. A value of 0.0 means means totally clear air or material. In this case, it would be clear glass. The higher you set this value, the denser the material will become (and the more scattering you’ll see). Note that a high extinction value won’t allow photons to enter deep into the object since they will have already been scattered.
r
g1
g2
These three parameters control the scattering process. If g1 and g2 are set to “0” then you’ll get what’s known as isotropic scattering or diffuse scattering. That’s where light is diffused in every direction as it passes through the material. The reason there are three parameters is because mental ray uses a two-part model.
Think of g1 and g2 as scatter anisotropy from before. They control whether light bounces mostly forward (high values of g) or mostly backward (values of g between 0.0 and -1.0). r is a weighting factor that lets mental ray decide the importance of g1 vs g2. g1 is multiplied by r while g2 is multiplied by (1 – r).
For example,
r = 0.5
g1 = 0.5
g2 = -0.25
will yield the anisotropic values of 0.25 and -0.125.
Non Uniform
This parameter spans between 0 and 1 . Lower values mean a uniformly-distributed material (like haze or mist) while higher values introduce noise into the material like cloudy quartz.
Height
The height parameter is used in conjunction with the mode parameter. When mode is set to 1, the height parameter determines at what point the “fogginess” of the material should stop. I.E. a value of 1cm means that above 1cm the material should be clear.
Minimum Step Length
Maximum Step Length
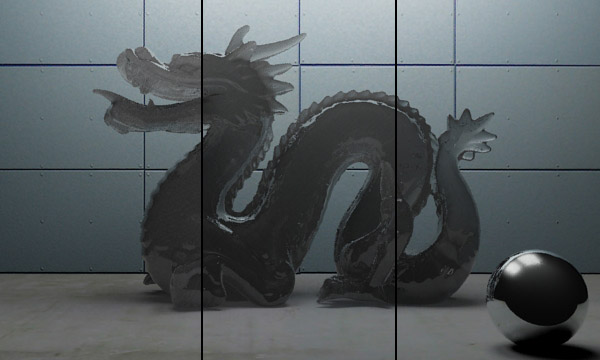
Minimum and maximum step length control the quality of the effect. This is very similar to how ordinary 3dsMax volumetric effects work. A longer step length will decrease the quality of the effect and speed up your render. A shorter step length will increase the quality of the effect while increasing render times, too. Think of these in the same way as min/max samples in mental ray.
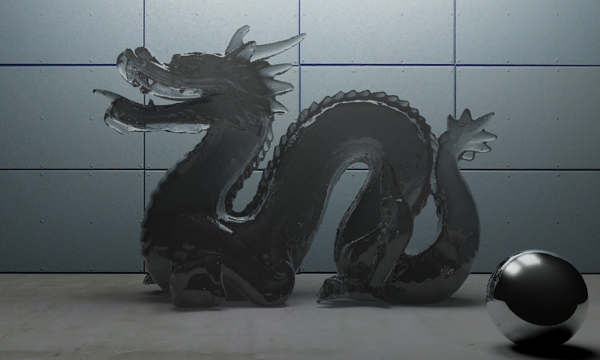
Below is a side-by-side comparison of a low quality render, the original render, and one with substantially higher quality (and a very long render time).
Light Distance
Light distance has to do with area lights and what level of sampling is used. While there’s not much documentation on this subject, it has to do with how far lights are from the material in order to increase the area light sampling during render.
Min Level
Is ignored and does nothing.
No GI When Direct
When enabled, this will turn off rendering of GI information in the material. Only direct illumination would be used in that case and it could speed up your renders if you don’t need GI in the material.
Lights
The light list you’re already familiar with by now. It acts as an include-only list and, when deactivated, all lights are considered.
Conclusion
Well that’s the conclusion of this tutorial. We’ve gone over the major ways that you can get sub-surface scattering and volumetric effects in your materials. Be sure to leave me comments and I’ll update this guide if needed!
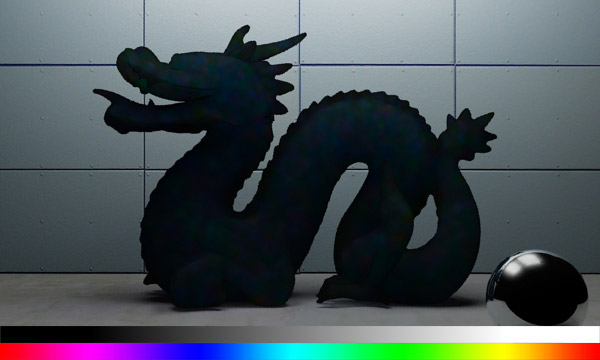
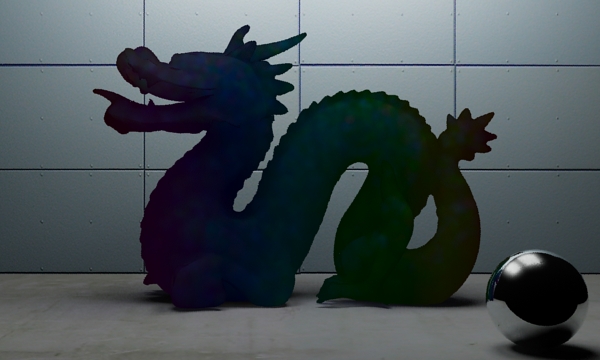
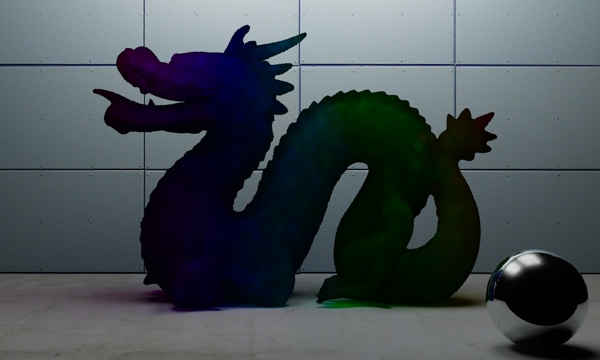
By Kai July 18, 2010 - 2:09 am
thanx 🙂 hope to continue with ur good work
By Ricardo March 15, 2011 - 2:52 am
Would it be possible to use this shader to create a quartz crystal?
By Mr. Bluesummers March 15, 2011 - 7:07 pm
I take it you mean a smoky quartz or amethyst? You bet! Just remember that you may get more mileage out of a glass material with dim transparency over a SSS material since your render times are way higher with these methods. =)
By SA December 3, 2011 - 10:53 pm
tutorial is super helpful! currently working on a project for university which involoves sss… just wondering in your opinion which would be the best shader to go about getting a render to have the same effect as these 2 images.. without changing the material… so if its in a lit room it would look like the top image.. in a dark room with a light on the model it would light up like a Christmas tree
http://news.nationalgeographic.com/news/2008/09/photogalleries/fish-red-fluorescence-photos/images/primary/1_glowingfish_461.jpg
By Kevin October 18, 2013 - 1:28 am
Well, maybe this is a little late, but considered that you use some kind of exposure control, that you would toggle between say EV 10 and 3, when you go from a room lit by daylight, to a night scene – you could composite a material, that consists of a normal material with the fish diffuse and a selfilluminating material (with the red glow). The self illuminated material would barely be visible in daylight, but would glow in the night, when the lighting gets sparse, and exposure value is turned down.
By djojo October 28, 2012 - 9:33 am
Hi !
Does anybody have an idea on how we can do this glassy SSS Shader on 3dsmax 2012 ?
There is no “Lume” map anymore …
By Anon January 25, 2013 - 8:26 pm
What settings would you reccomend for obsidian, where only super thin edges are transparent?
Also, how do we apply the parti volume shader?
By Mr. Bluesummers January 25, 2013 - 8:34 pm
It’s been a long time, but my best guess would be a mix material being controlled by a sub-surface scattering shader (if MR can handle that, which is always iffy). That way you’re controlling the surface map with a dark, glossy material that (for very shallow geometry) will mix into a transparent or milky surface. Beware; I predict horrific rendertime!
By Anon January 26, 2013 - 6:32 pm
Actually, just found out the preset autodesk smoked glass mat is more transparent along thin areas.
The only thing is, I can’t figure out how to control what it uses to determine the % of opacity for X thickness.
By Anon January 25, 2013 - 9:00 pm
Too add, the parti volume shader just gives me a photon error and the whole thing is a flat color of white and black noise