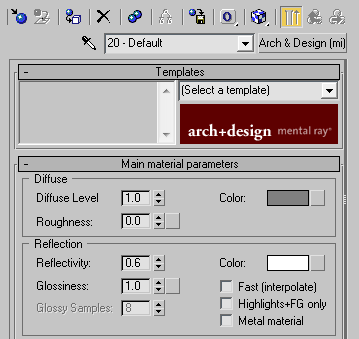
In October of 2006, Autodesk implemented a material type called the “Arch & Design” material for the 3d Studio Max implementation of mental ray. This material type is an elaborate construct of mental ray shaders and includes a useful set of preset material configurations that- with proper lighting- can make any render look special.
Today we’re going to take a deep dive into each one of these mental ray material presets. By the end of this tutorial you’ll have a firm grasp over what each material does and when to use it. One thing I’d like to note is that the 3dsMax documentation in this area is spectacular.
The material has a number of significant features:
- Easy to use, yet flexible – more complicated than VRay, but much simpler than the usual mental ray standard.
- Templates – allow fast access to settings combinations for common materials.
- Physically accurate – the material is energy conserving, making it impossible to create shaders that break the laws of physics.
- Glossy performance – advanced performance boosts including interpolation, emulated glossiness, and importance sampling.
- Tweakable BRDF – the user can define how reflectivity depends on angle.
- Transparency – “Solid” or “thin” materials: transparent objects such as glass can be treated as either solid or thin.
- Round corners – simulate fillets to allow sharp edges to still catch the light in a realistic fashion.
- Indirect Illumination control – set the final gather accuracy or indirect illumination level on a per-material basis.
- Built-in Ambient Occlusion – for contact shadows and enhancing small details.
The Arch & Design Default
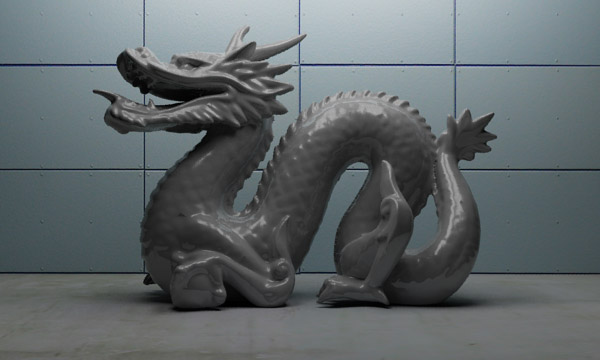
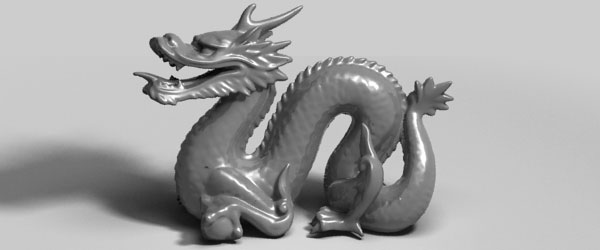
Let’s take a render of the mental ray Arch & Design material’s default configuration. For this tutorial, we’ll be using the Stanford Dragon Model scene. The grey material has some glossiness and specularity, but no special effects like blurring or transparency.
The Arch & Design Presets
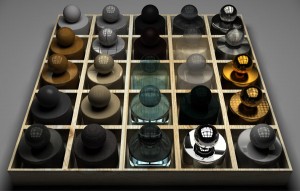
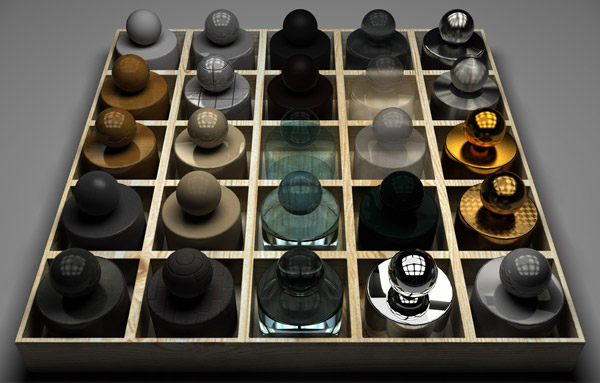
There are 28 individual presets in the 3d Studio Max Arch & Design material, of which only 23 are full materials. Let’s take a quick look at each one and get a feel for what it’s used for. Below is a high resolution render showing you what each material looks like relative to one another. While some of the more elaborate ones like masonry aren’t too impressive, the basic materials like copper and solid glass are excellent.
Let’s look more closely at each one of these presets and how they differ from each other. Remember that the render above is using one of the free high-resolution HDRI maps and smart lighting, while the images below are using a plain white background and some big area lights. That’s a recipe for some pretty ugly renders, so don’t look at these materials and gag right away. Remember that they look good under the right lighting.
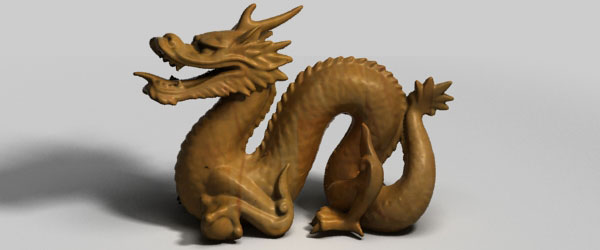
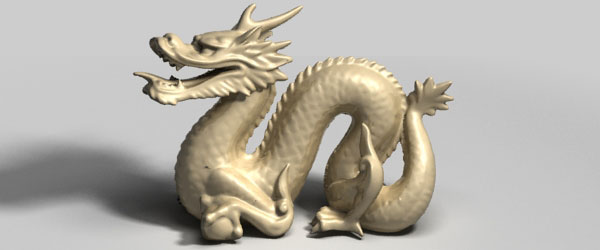
Satin Varnished Wood
The satin varnished wood material is a reasonable wood material that is fine for most purposes. It includes a diffuse map that gives it a grain, but you’ll need UVW mapping in order for it to look right. The satin finish means that there’s little glossiness/specularity so this might be appropriate for construction sites or old toys.
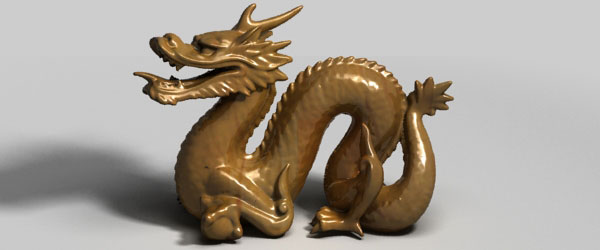
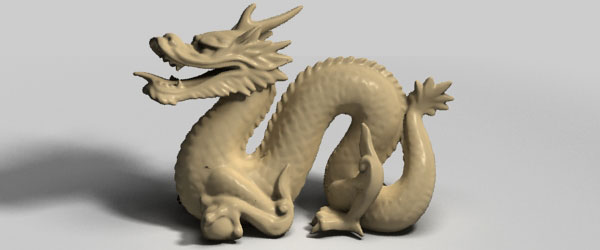
Glossy Varnished Wood
The glossy varnished wood material is very similar to the satin wood above. The main difference is in the reflection, glossiness, and specularity parameters. Whereas you’d select satin varnished wood for more rural wood selections, you’d pick glossy varnished wood as a base material for flooring or for polished wood furniture.
Rough Concrete
Rough concrete is a strong selection for more distant 3d objects like roads, sidewalks, and buildings. However, you probably would select your own bitmap for close up objects, or use a different material entirely.
Polished Concrete
Polished concrete removes the bump map from the regular rough concrete material, and has higher specularity and glossiness settings. This is a great choice for floors in showr0oms or clean warehouses.
Glazed Ceramic
Glazed ceramic is your basic DGS material in mental ray. It’s a typical medium glossiness/specularity material with some light reflections.
Glazed Ceramic Tiles
Glazed ceramic tiles is a twist on the ordinary glazed ceramic material where a tile bump/color map has been added. While you have to dig down into the material in order to access the tile parameters like size and spacing, it does give you a quick way to get to tiled materials that look pretty convincing.
Glossy Plastic
Glossy plastic is similar to the ceramic material but with different reflection falloff parameters.
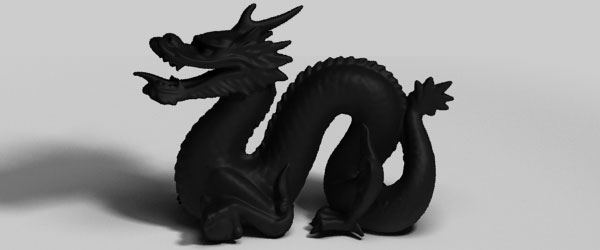
Matte Plastic
Matte plastic removes most of the reflection from the plastic material above, and tones down the specularity and reflection significantly. This is approximately the same as the “Wall Paint” pro material type.
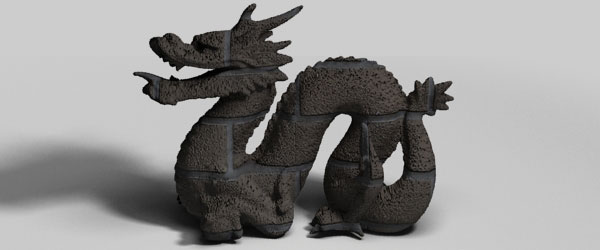
Masonry
The masonry material can be difficult to work with since getting realistic results often requires manipulating diffuse maps. Masonry is another good choice for distant objects.
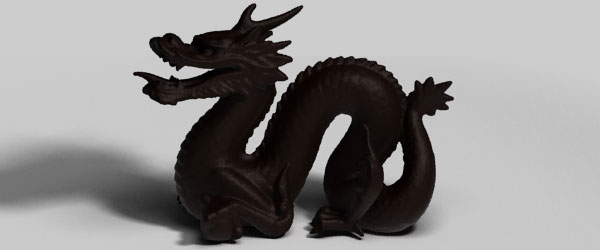
Rubber
The rubber material is a little too specular for my tastes, but ultimately a convincing material under realistic lighting conditions. This material is more like industrial rubber rather than tire rubber, so for automotive renders consider reducing the specularity/glossiness further to get a dirtier look. The Oren-Blinn shader should help also.
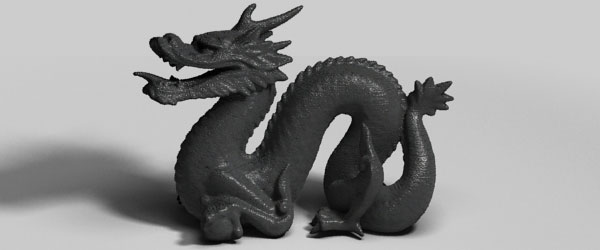
Leather
The leather material is a dark, rough, but glossy material suitable for a wide variety of skins and clothing. You’ll need a convincing diffuse map in order to achieve superior results.
Glass (Thin Geometry)
The thin geometry glass material is made for objects that are made of a single sheet of polygons or very thin closed geometry like soap bubbles. In the case of thin geometry, the material is instructing mental ray to render the surface as two-sided such that the render is extremely fast for translucent objects and light is still colored as it exits the object.
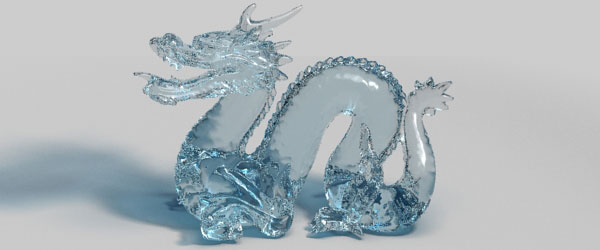
Glass (Solid Geometry)
The solid geometry glass material is the usual one-sided glass material we’re all used to. As light enters one side of the object it undergoes refraction and this process occurs again as light exists the other side of the object. In this case, the material is still an approximation, so light traveling through the object isn’t colored based on distance, but instead based on the number of times it enters/exits the 3d object. You’ll notice that thick and thin areas of the object below undergo the same coloration.
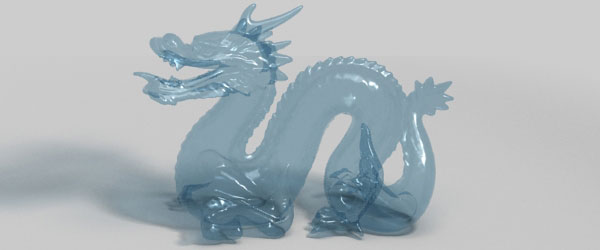
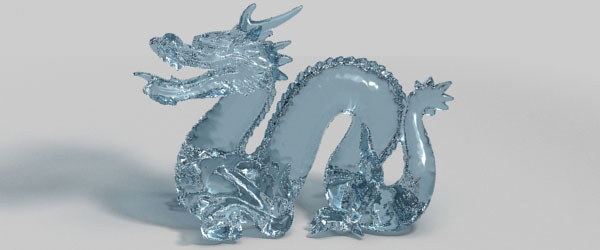
Glass (Physical)
The physical glass material takes the longest to render, but yields excellent results. The difference with this material is that light is colored based on how long it travels inside of the object. Thus thick parts of the object below are colored with a deeper blue while thinner areas get less coloration.
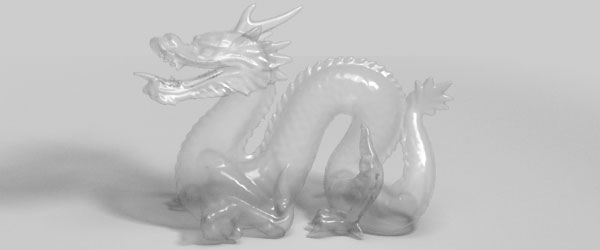
Translucent Plastic Film (Thin)
The translucent plastic film material is similar to the thin geometry glass material in that it is meant for extremely thin objects and for “one-way trips” through geometry. The thin translucent material allows a face illuminated on it’s normal side to illuminate it’s backside, too.
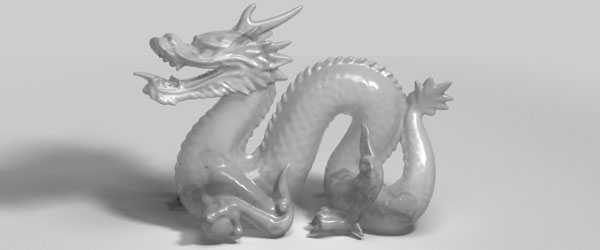
Translucent Plastic Film (Opaque)
The opaque translucent plastic film material allows solid geometry to have a translucent effect. This is useful for objects with closed geometry, but is computationally more expensive than the equivalent thin material.
Water, Reflective Surface
The reflective water surface material is actually not transparent and a great proxy for water at shallow angles and/or at a distance from the camera. Consider using it whenever possible to save render time.
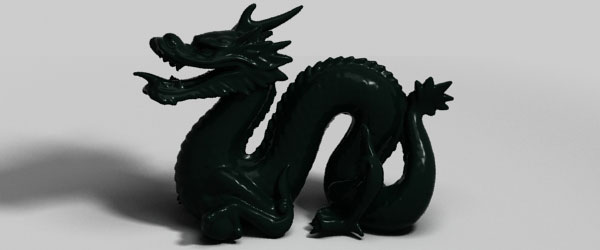
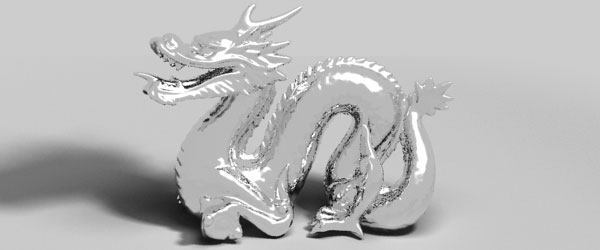
Chrome
The chrome material is simply a 100% reflective material. This is useful for extremely clean, polished metal surfaces.
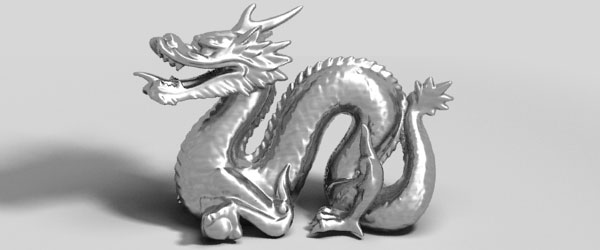
Brushed Metal
The brushed metal material is a chrome material with blurred reflections. This is suitable for most metal objects.
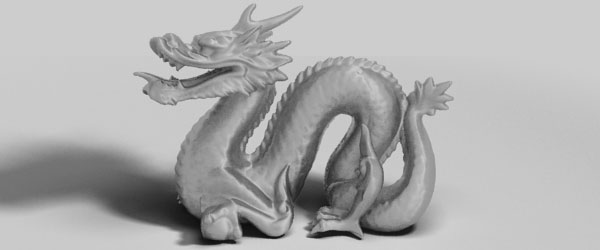
Satin Metal
The satin metal material is like the brushed metal material but with even more blurred reflections. This is suitable for stainless steel.
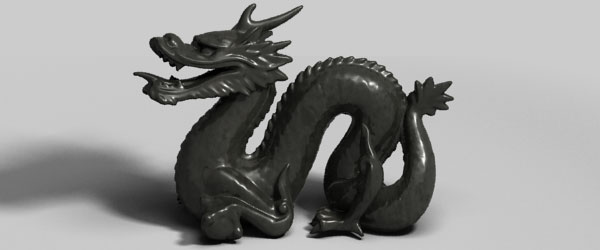
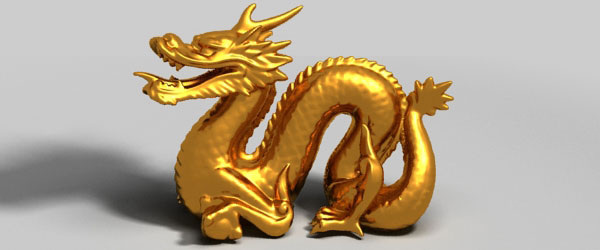
Copper
The copper material is a very shiny colored metal. It’s closer to brass in my opinion, but it still responds well to realistic lighting and HDRI. Use it in darker renders if possible since with this white background it looks like gold.
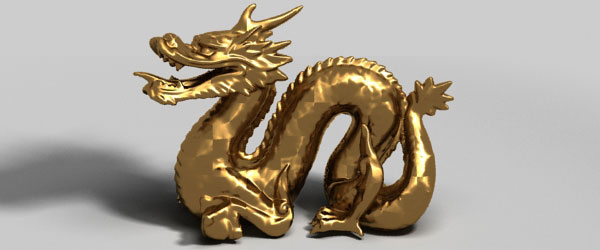
Patterned Copper
The patterned copper material is a darker, duller version of the copper material with an added glossiness, specularity, and reflection shader.
By Jacky Liang September 26, 2010 - 7:24 am
nice nice 😀 pretty informative
By kenn September 26, 2010 - 5:11 pm
how come the chrome looks so bad. Maybe its because of the lack of things to reflect and the rubber doesn’t look realistic to me for some reason.
By Roberto September 27, 2010 - 11:51 pm
Thank you for the images and info; if you can complete with the the prometarials will be great..
The chrome material will be better using any map for reflection, as an HDRI. For the tutorial was perfect, but may be and environment map will help.
By radiocative October 6, 2010 - 2:35 pm
@kenn, yes. Even the gold, copper etc. looks slightly wrong as well, and that’s because it has nothing to reflect except its own geometry and its own shadow on the plane below it. HDRI maps placed in the ‘Environment Maps’ slot under Special maps in A&D works well for objects that are alone.
Now… if only someone explains how to use texture maps for A&D >.< Been trying to get a glass material that has opaque borders to work with A&D. Despite using opacity, cutouts, and spec/reflection maps, both the frames and the glass end up either transparent, shiny, or just looks plain bad. :[ Why is it not as easy as Standard?
By Mr. Bluesummers October 6, 2010 - 8:01 pm
@Kenn, @Radioactive: Correct to you both. For a more realistic example, check out the high-res version of the first image. It has better lighting and HDRI reflections. 🙂
@Radioactive: Really? It’s giving you that much trouble? Let me give it a try later today or tomorrow…
By Manuel Huertas October 11, 2010 - 8:19 pm
Hey hi Mr. Bluesummers!
I ve been looking your tutorials for quite some weeks, I ve got to thank you enormously for your dedication, you r the man, thanks a lot!
I actually have one question. I am trying to set up some greasy/steamy metal shader in MR for 3ds max 2010. like the one you see in starcraft 2 cinematic… kind off. I am going by doing all maps by hand as I like to do hand texturing besides procedural for accuracy reasons. I am using arch&design shader as usual for base shader and then built off from there. My problem is that when I use ‘metal material’ option, my metal material its losing all its reflectivity in the render output and looking dark, so I try to boost the reflectivity up to 0.89 but still looks dark. If I take out ‘metal material’ option, then reflection comes back, but I lose the metal dark contrast and its weight.
So I am wondering if I should create a color reflections map besides the glossiness map itself and use both. Btw I am using IOR at 22.
I will thank you enormously if you have any hint about this, or maybe you will do things differently I will like to know your savy advice, thanks again in advanced!
By Mr. Bluesummers October 12, 2010 - 3:27 am
You’re welcome, good buddy!
What’s your material reflecting? Remember that metal basically spans the range between a specular, glossy, silvery mess and chrome. If it’s too dark with high reflection, it means that your environment & lighting aren’t realistic. If it’s too dark with low reflection, it means your lighting solution is too dim or the maps you’re using are inherently dark.
This is going to sound preachy, but you might want to start with the basics. Begin your material from gun-metal grey with dirt & scratches, then layer on the specular/glossy maps, and then top it off with a masked fresnel reflections. This should work with a Standard material slot, so if you’re finding the Arch & Design materials unwieldy you can always step it back for a bit. I’m sure you can still get some great results.
Here’s one of my favorite tutorials on the subject of metal materials: http://www.3dtotal.com/pages/tutorials/photoshop/worn_metal/metal.php
By Mr. Bluesummers October 12, 2010 - 3:30 am
P.S. Your site is superb- I’m kind of humbled you visited my little corner of the web. ^__^
By Manuel October 13, 2010 - 5:19 pm
Thank you for the comments! I will surely take a look at that tutorial! heres a wip of the prop I just talked about, I used a gloss map and did a lower contrast difuse that I put in the reflections color and click on metal material so I still got some reflections and keep the contrast. The material is reflecting an hdri but I blurred the reflections son is not very visible, I will try next time starting with gunmetal thats a good idea, and build over from there, thanks again man!
http://dl.dropbox.com/u/4138955/drop3d/logo_wip_da.jpg
-Manu
By Kevin October 20, 2011 - 2:55 pm
I’ve been trying to get a good brushed metal with the arch and design materials, but with no luck. It looks great except when I render all the edges come out faceted. I’ve tried many different tutorials and I think I’ve narrowed it down to the samples on the materials reflection. If I have the samples at 8 or 16, you can barely see the faceted edges, but the reflections are very rough and grainy. As soon as I bump up the samples, the reflections are great, but you can then see every single edge. The model itself has been smoothed, so I’m not sure why all these edges are showing up. I’ve been scouring the web trying to find the answer and have yet to find any answers. Any help or explanations would be greatly appreciated.
By Nachttisch Buche August 21, 2012 - 10:53 pm
[…] Buche A Visual Guide to the Arch & Design Material in 3dsMax /* Settings for Syon Policy */ #syon-privacy { font-family:Arial; font-size:12px; } Nachttisch […]
By Melanie March 22, 2013 - 1:01 pm
Hi Mr Bluesummers,
You’ve mentioned that satin metal is suitable for stainless steel. Do you have a step by step tutorial on how to create a good looking stainless steel? I’ve been looking for a while.
By ELIA SHAO (TANZANIA) May 23, 2013 - 9:08 pm
thanks for the illustration mr blu summer, i kick out the quanch of understanding the diferent of glass materials, nice illustration guyz…..keep it up.
By omar October 6, 2013 - 6:14 pm
esos materiales ya estan predefenidos en mental ray, prueba vray es mas nice